Behind every successful video is a phase that rarely features at the forefront of people’s minds: pre-production.
Pre-production lays the groundwork for an entire project, determining how smoothly filming goes, how the story plays out on screen & ultimately how impactful the overall video becomes.
We’re seduced by the movie that sweeps us off our feet, the viral ad campaign that gets people talking, or the YouTube video that racks up millions of views within days. But beneath the shiny exterior there’s an invisible architecture, a series of carefully laid plans and meticulous decision making.
This is a look at how dedicating time and effort to the video pre-production phase can be the difference in making your project a success.
The Misunderstanding of Spontaneity
Spontaneity is alluring. The idea that fantastic videos are conjured in the spur of a moment feeds into the illusion of effortless creativity. However, none of that is possible without a solid foundation.
Think of video pre-production as the deep roots of a tall tree. If these roots are weak then the tree will topple. Pre-production is the anchor that makes your video rooted & steadfast.
The Domino Strategy
Pre-production is all about thorough planning. Think of it like setting up a row of dominoes where you need each piece precisely positioned to ensure a seamless topple. The concept, the script, the storyboard – each part needs to be aligned.
Every element, from the script and storyboard to the budget and timeline, must be aligned perfectly for the dominos to fall how you want them to. Pre-production planning serves as your blueprint, allowing you to visualise how each element connects with the others.
If you ignore this stage you risk creating disjointed, ineffective content that fails to deliver your message.
How a Script Brings Structure to Creativity
Everything starts with an idea, but an idea alone won’t make a video. The script development phase in Pre-production is where you work out the core message of the content & how to communicate it with the audience.
It’s about answering the fundamental questions – what is this video trying to say & to who? Defining these elements at the beginning gives you the structure to later add layers of creativity and precision.
The script is where your project gets a heartbeat. It provides the blueprint for dialogue, pacing and transitions. A well written script eliminates ambiguity, making sure that everyone involved knows exactly what story you’re telling.
Storyboarding Helps Visualisation
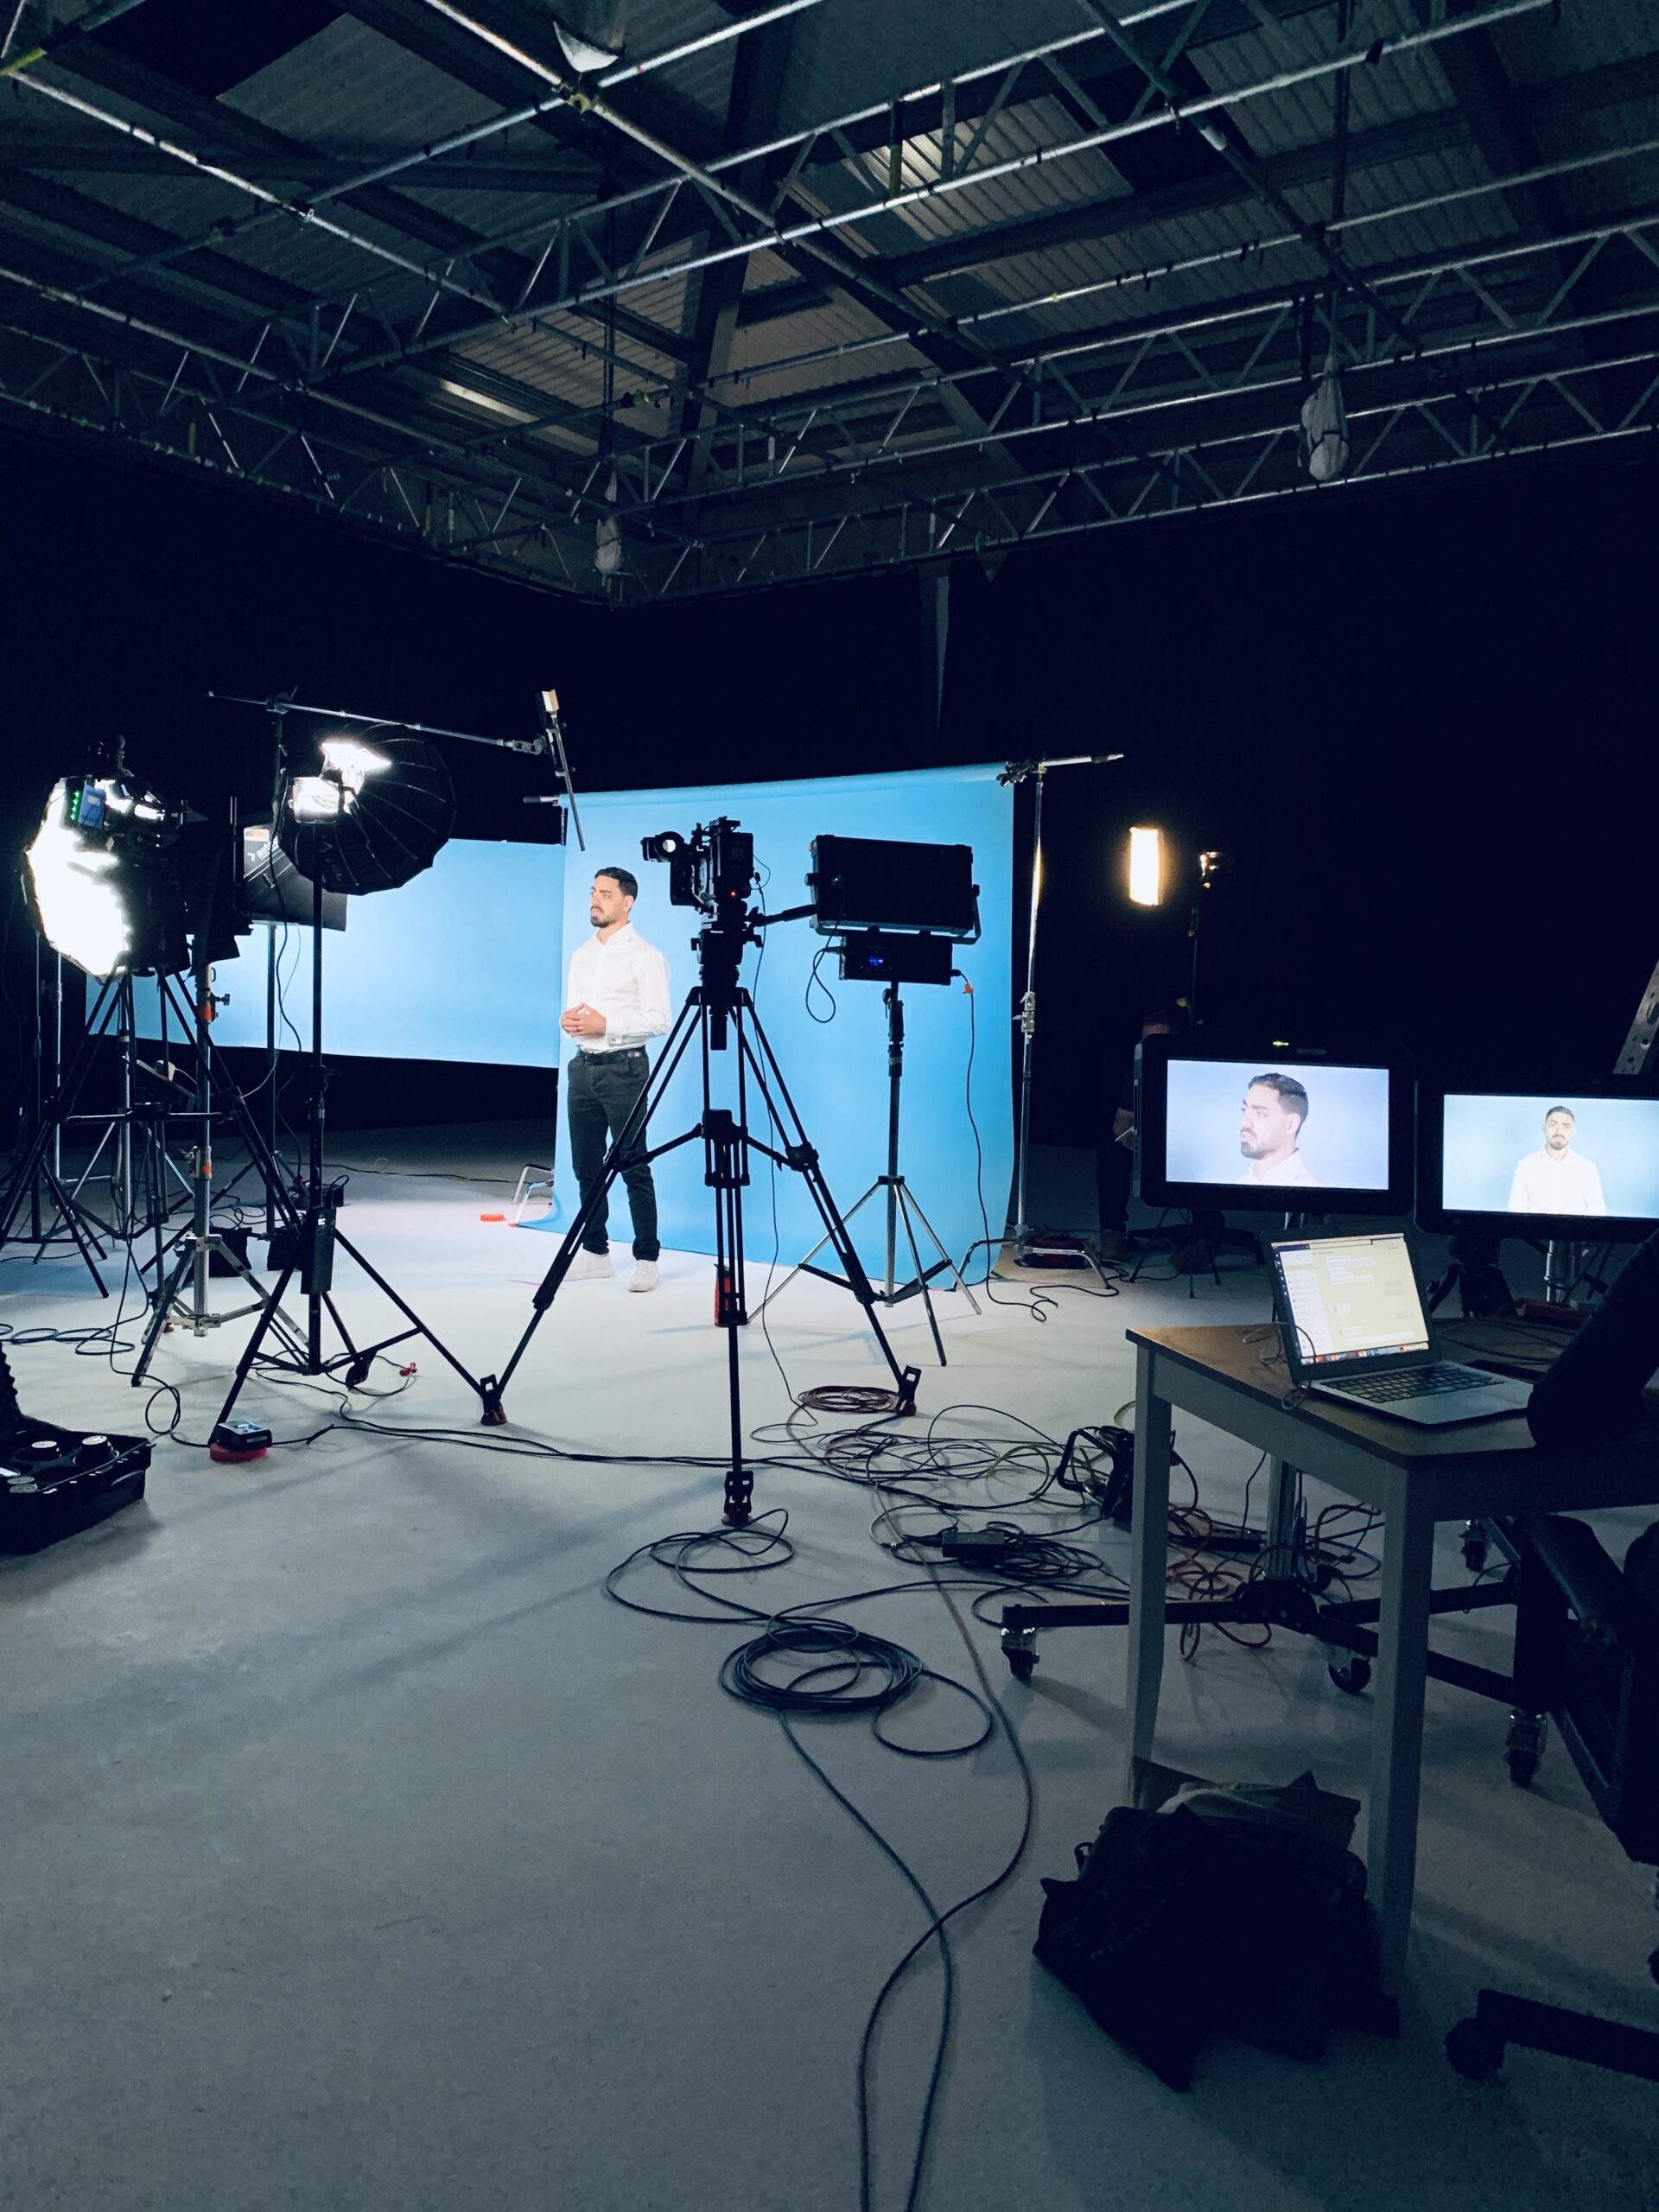
Storyboarding is arguably one of the most exciting parts of pre-production. It’s when you get to visualise each scene, anticipate the visual flow & plan out the shots you need to get.
Think of it as a dress rehearsal on paper. Every shot sketched out helps you be proactive, and can also help foresee any challenges before they materialise.
Scheduling and Logistics Make It Happen
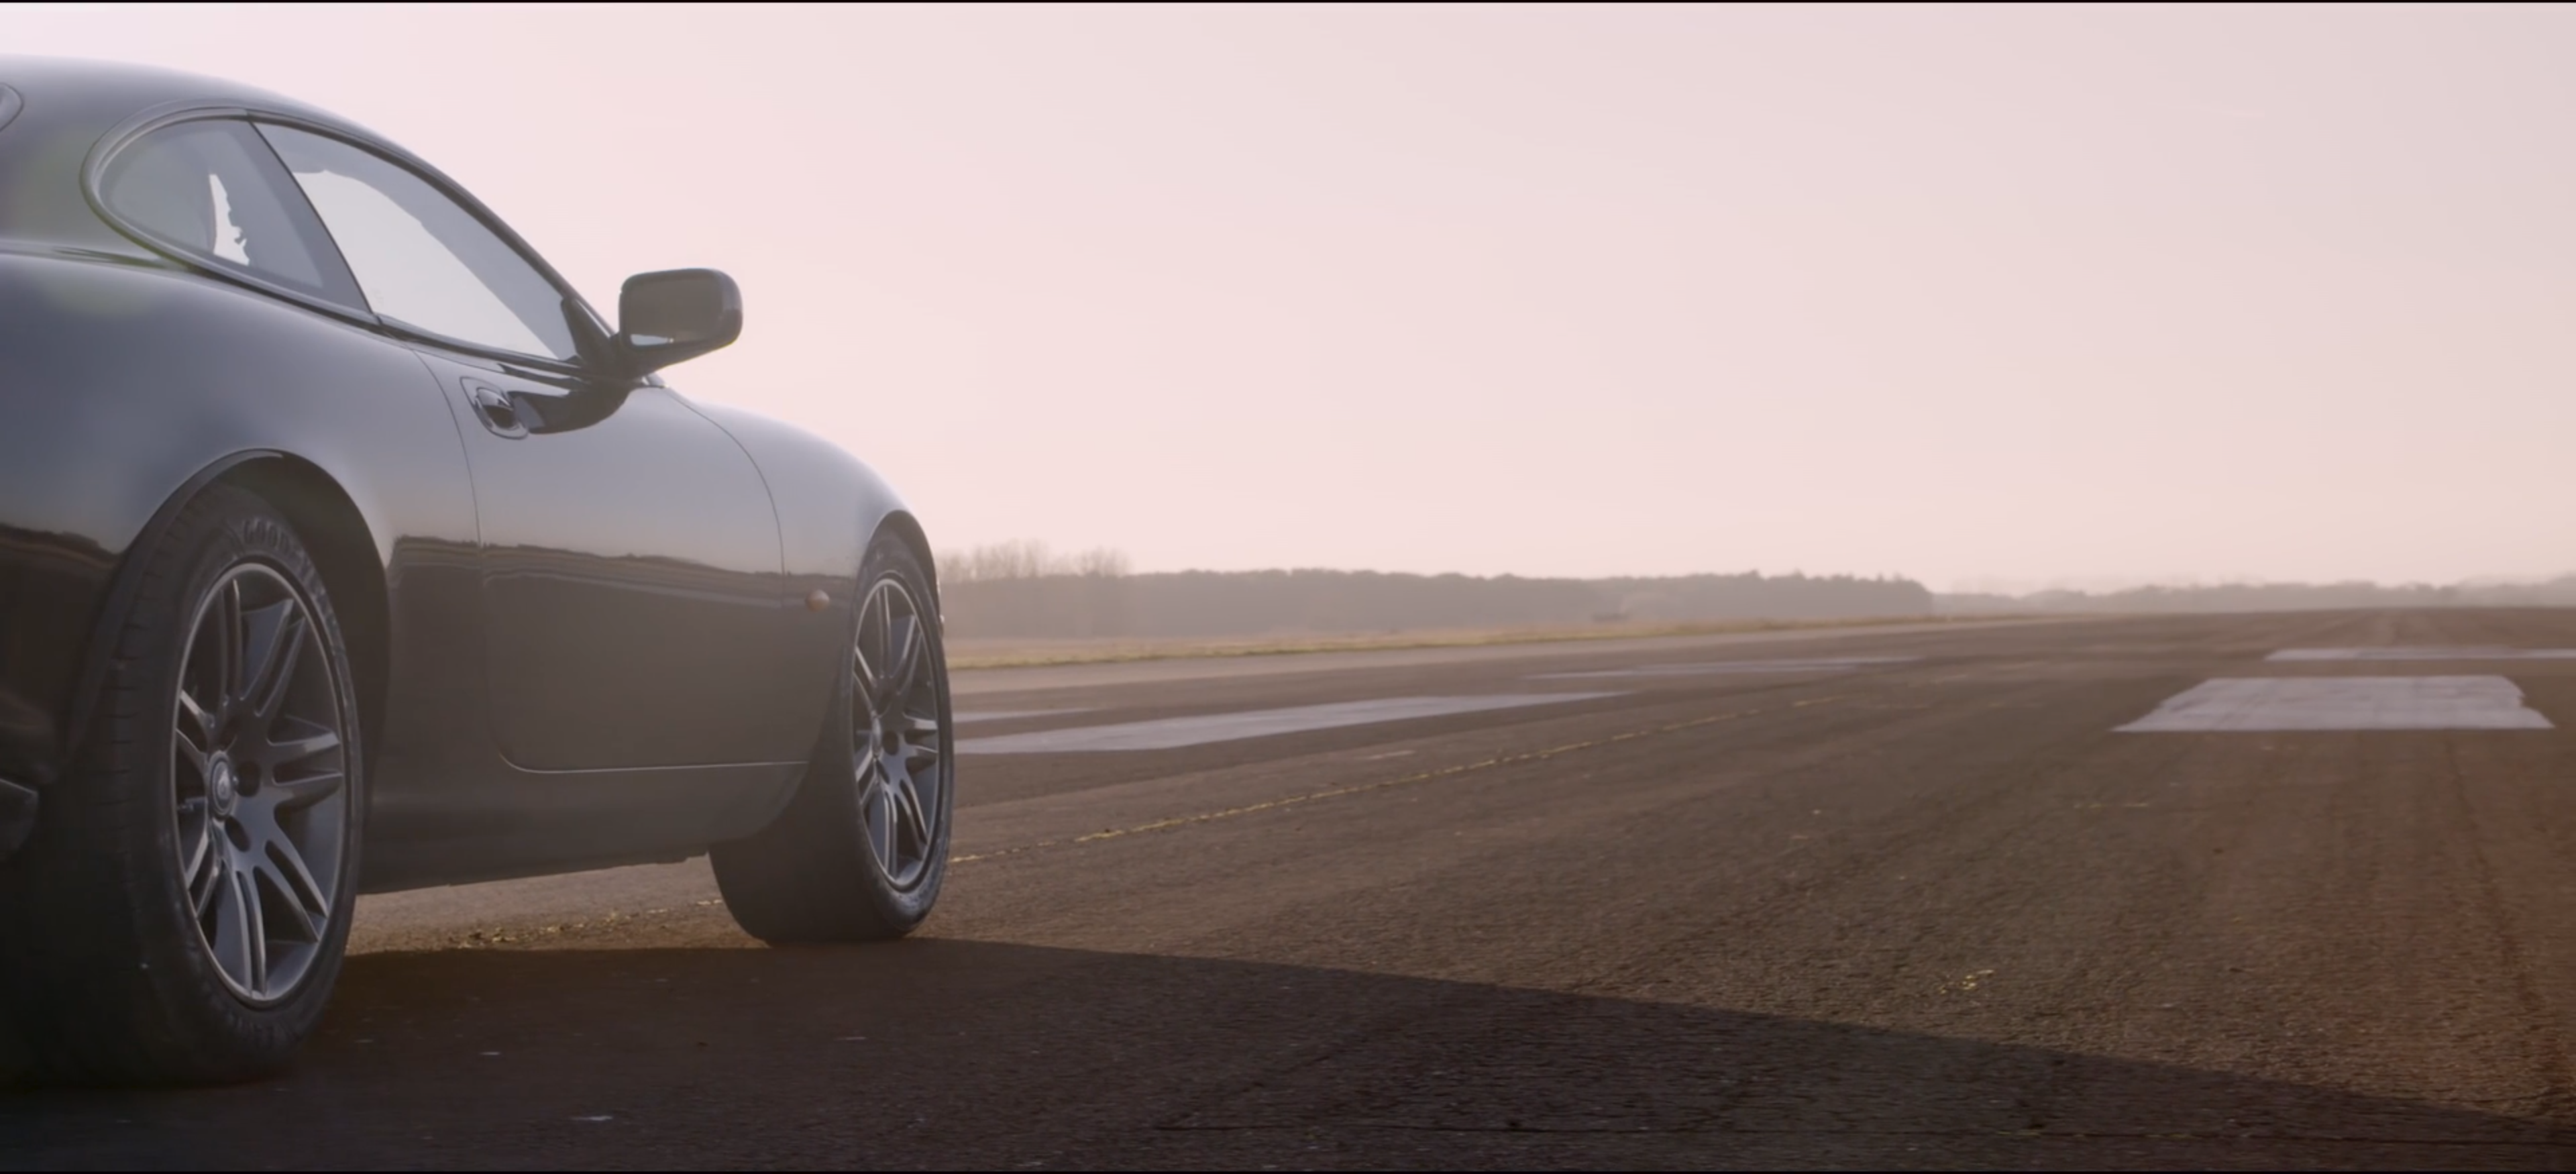
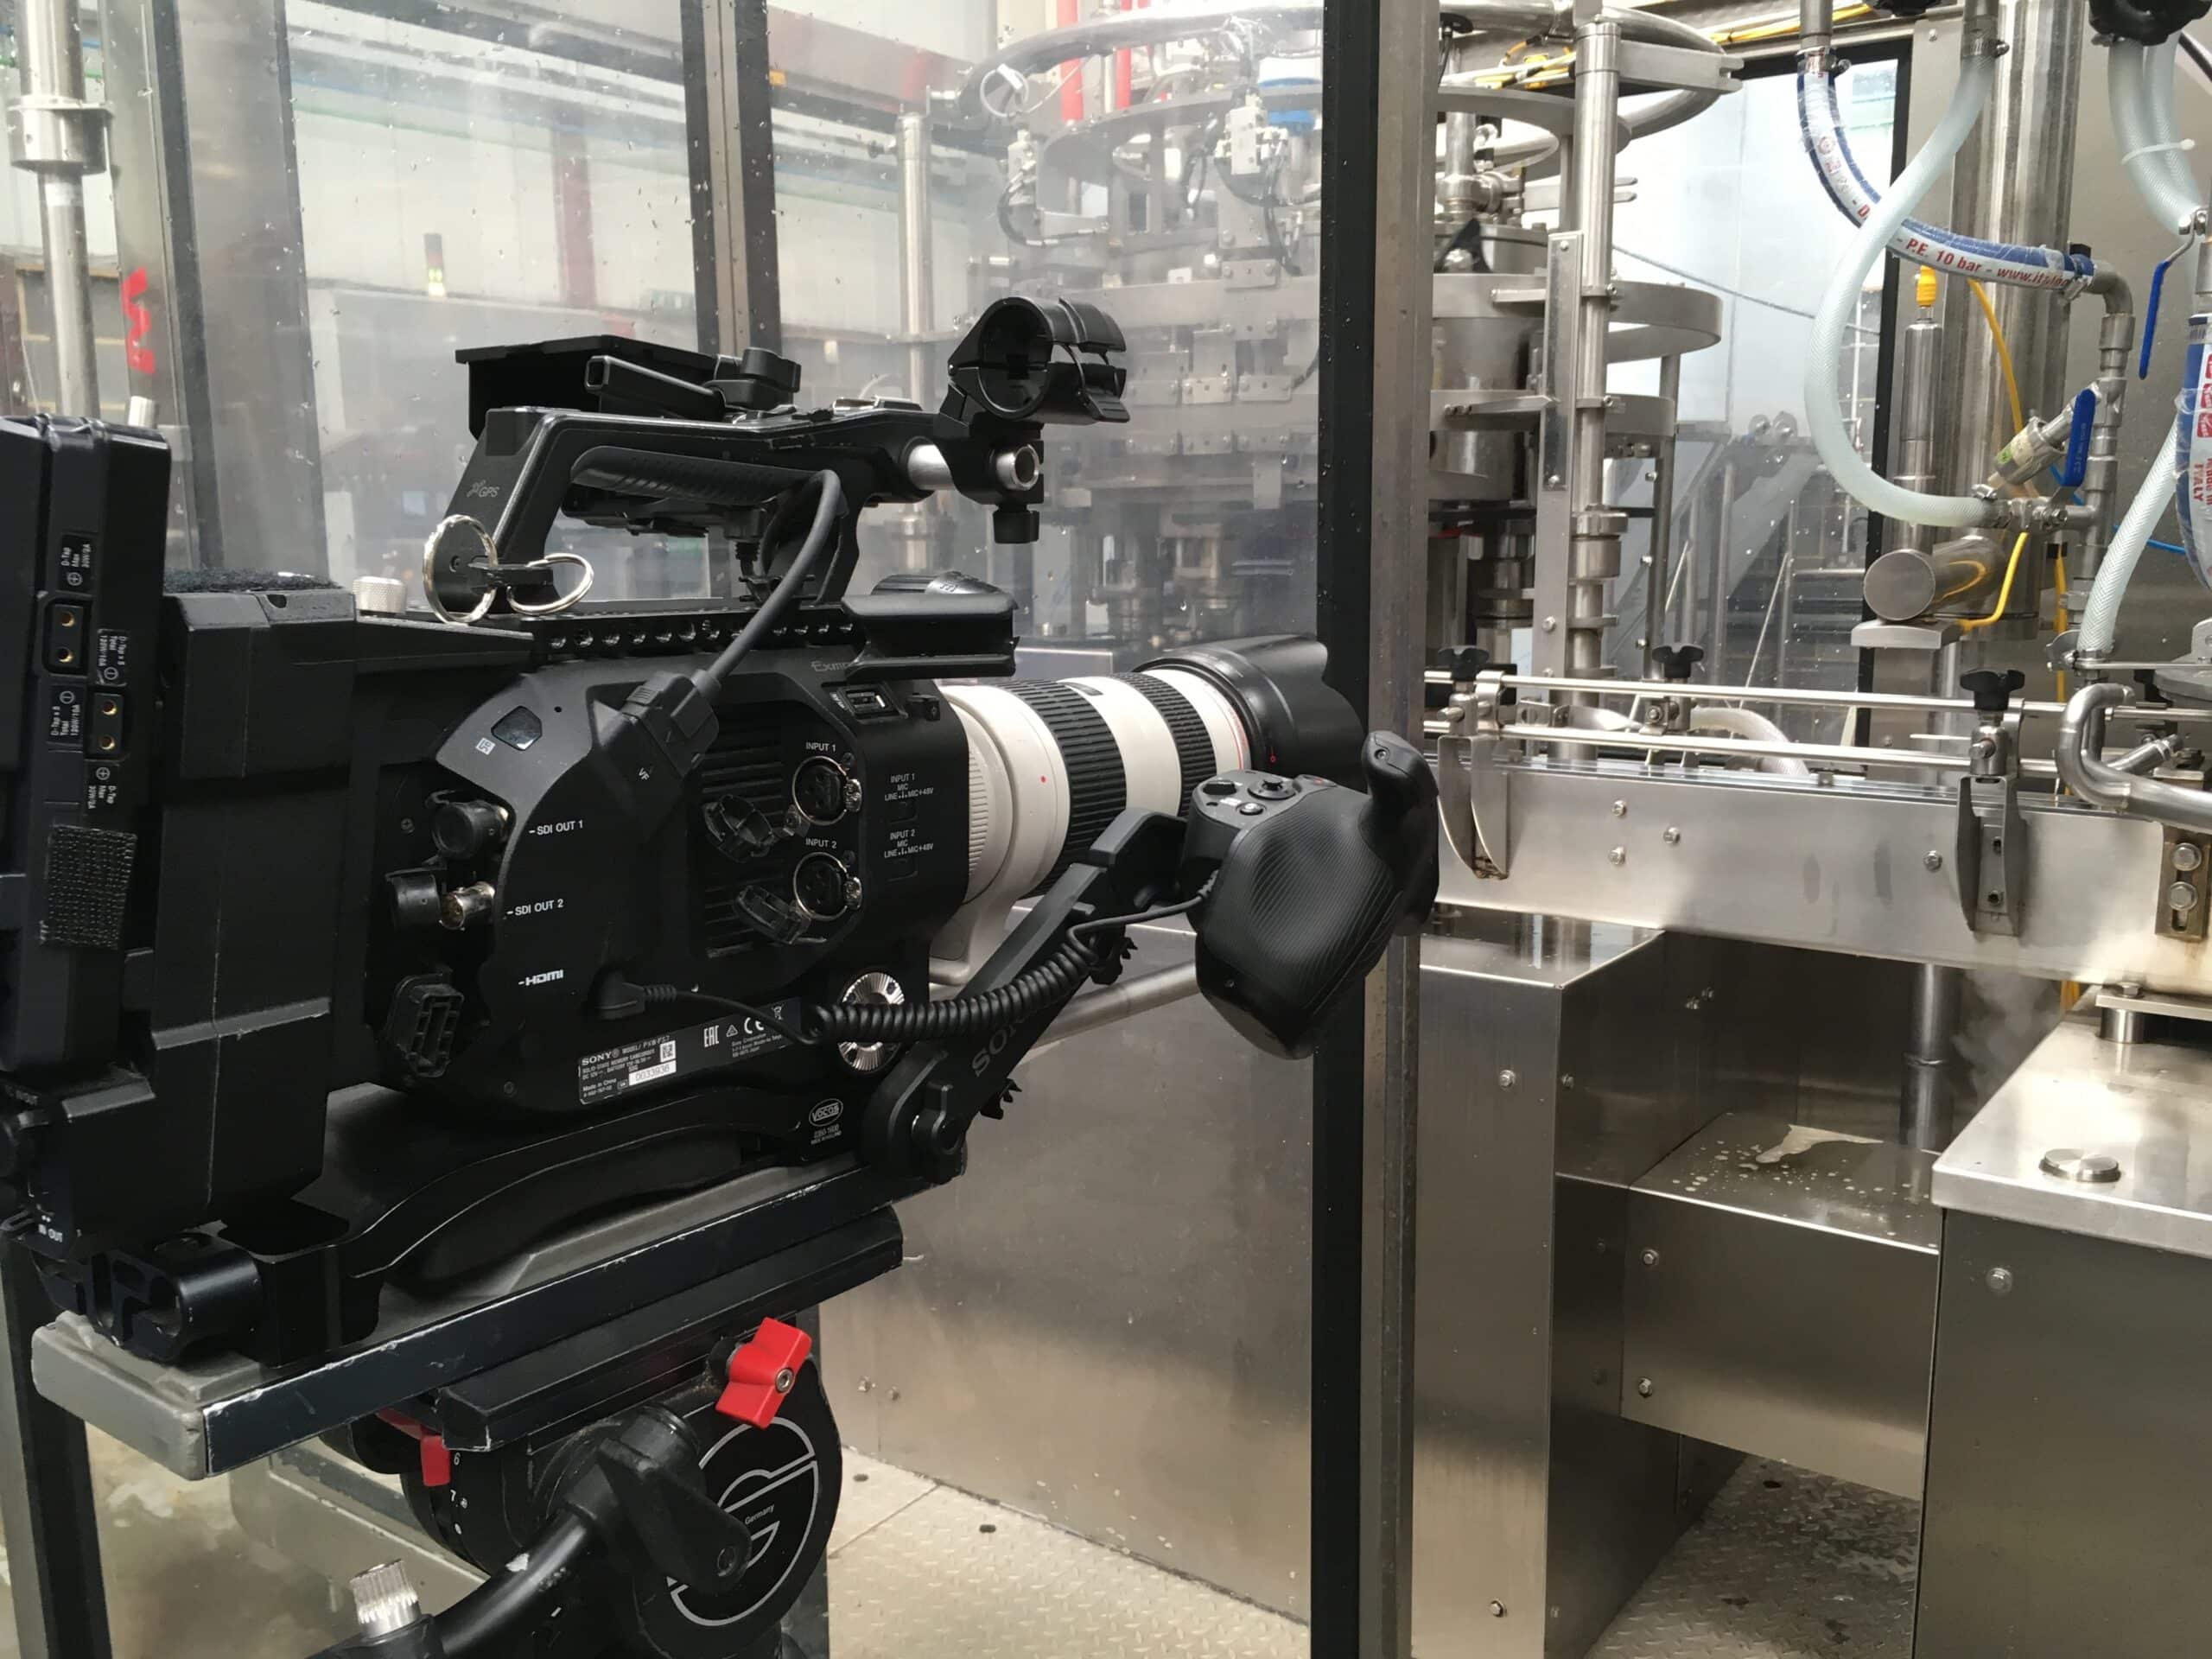
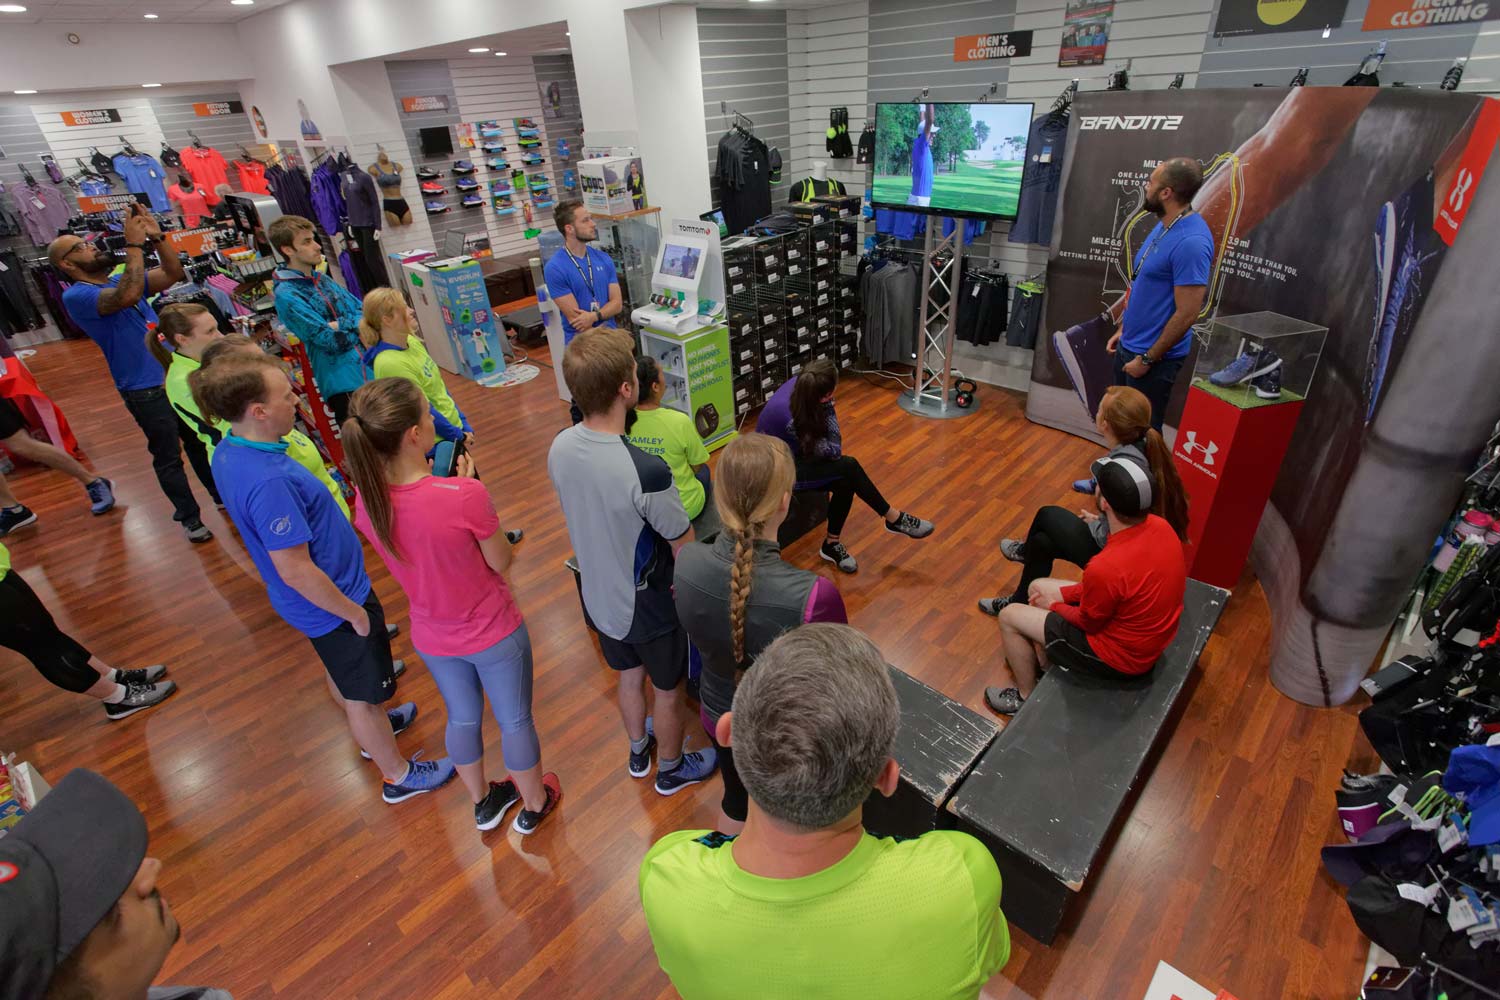
Planning isn’t just about the creative side. The logistics that bring it all to life – coordinating locations, booking kit & crew, planing workflows etc – all need to fit into a timeline. Being thorough at this stage can help anticipate obstacles such as potential weather disruptions, location access or technical hiccups.
Good pre-production means you have a Plan A, Plan B, and even a Plan C when they might be needed.
Improper Planning
Ignoring pre-production planning isn’t merely a missed opportunity, it can lead to costly mistakes down the line. Literally. Improperly planned projects can spiral out of control, consuming more time and resources than initially anticipated. Deadlines can get missed. Budgets over-run. The quality of the content & the end product suffers. Remember, fixing issues in the post-production phase can be exponentially more expensive than getting it right from the start.
Common Challenges in Video Pre-Production and Solutions
Pre-production is a crucial part of any video project, but it often presents several challenges that can derail timelines and increase costs if not addressed effectively. Effective planning can significantly improve the overall quality and efficiency of your video project.
1 – Budgeting Issues:
One common challenge is defining an accurate budget early in the pre-production phase. Misjudging, or omitting to include costs for locations, talent, or equipment can lead to awkward conversations with the client later in production.
To solve this we create a detailed budget that includes allowances for contingencies. Using tools like Google Sheets or StudioBinder when in the budgeting phase can help to manage cost forecasts more efficiently.
2 – Scheduling Conflicts:
Coordinating with the entire team – including the director, cast, crew & other suppliers – can be a complex task. Miscommunication or lapsed deadlines early on can delay production.
The solution lies in clear communication and using collaborative tools (e,g Asana) to keep everyone on the same page. This helps make sure all departments know what’s expected of them & when!
3 – Creative Alignment:
Sometimes the creative vision for a project isn’t fully fleshed out before production starts. This has the potential to lead to mismatched expectations. Good communication from the start is key to avoiding this. Make sure client expectations are being managed & storyboards and shot lists are agreed and signed off by the relevant people!
We use Frame.io to give us & our clients the ability to collaboratively review content as a project progresses, ensuring everyone is aligned on the creative direction. This kind of proactive communication can prevent delays and ensure the final product aligns with your creative goals.
Video Pre-Production FAQ
What Is the Role of Pre-Production in Video Production?
This planning phase ensures that production runs smoothly, on time and within budget. A well thought out pre-production phase lays the foundation for a successful shoot, reducing risks and unforeseen complications. You can see our Video Pre-Production checklist here.
How Long Should Pre-Production Take?
What Happens If I Rush Pre-Production?
At Fettle Digital we Understand the Importance of Pre-Production
The more thorough your video pre-production planning, the smoother the filming process will be. This preparation allows creativity to shine because the structure has been meticulously planned.
So, next time you marvel at a remarkable piece of content, remember that what you’re really seeing owes a lot to the pre-production planning the team making it undertook.
When you’re ready to take your video content to the next level, and get an end product that exceeds expectations we’re here to help.
Fill out our contact form here, or drop us an e-mail at hello@fettledigital.co.uk